 |
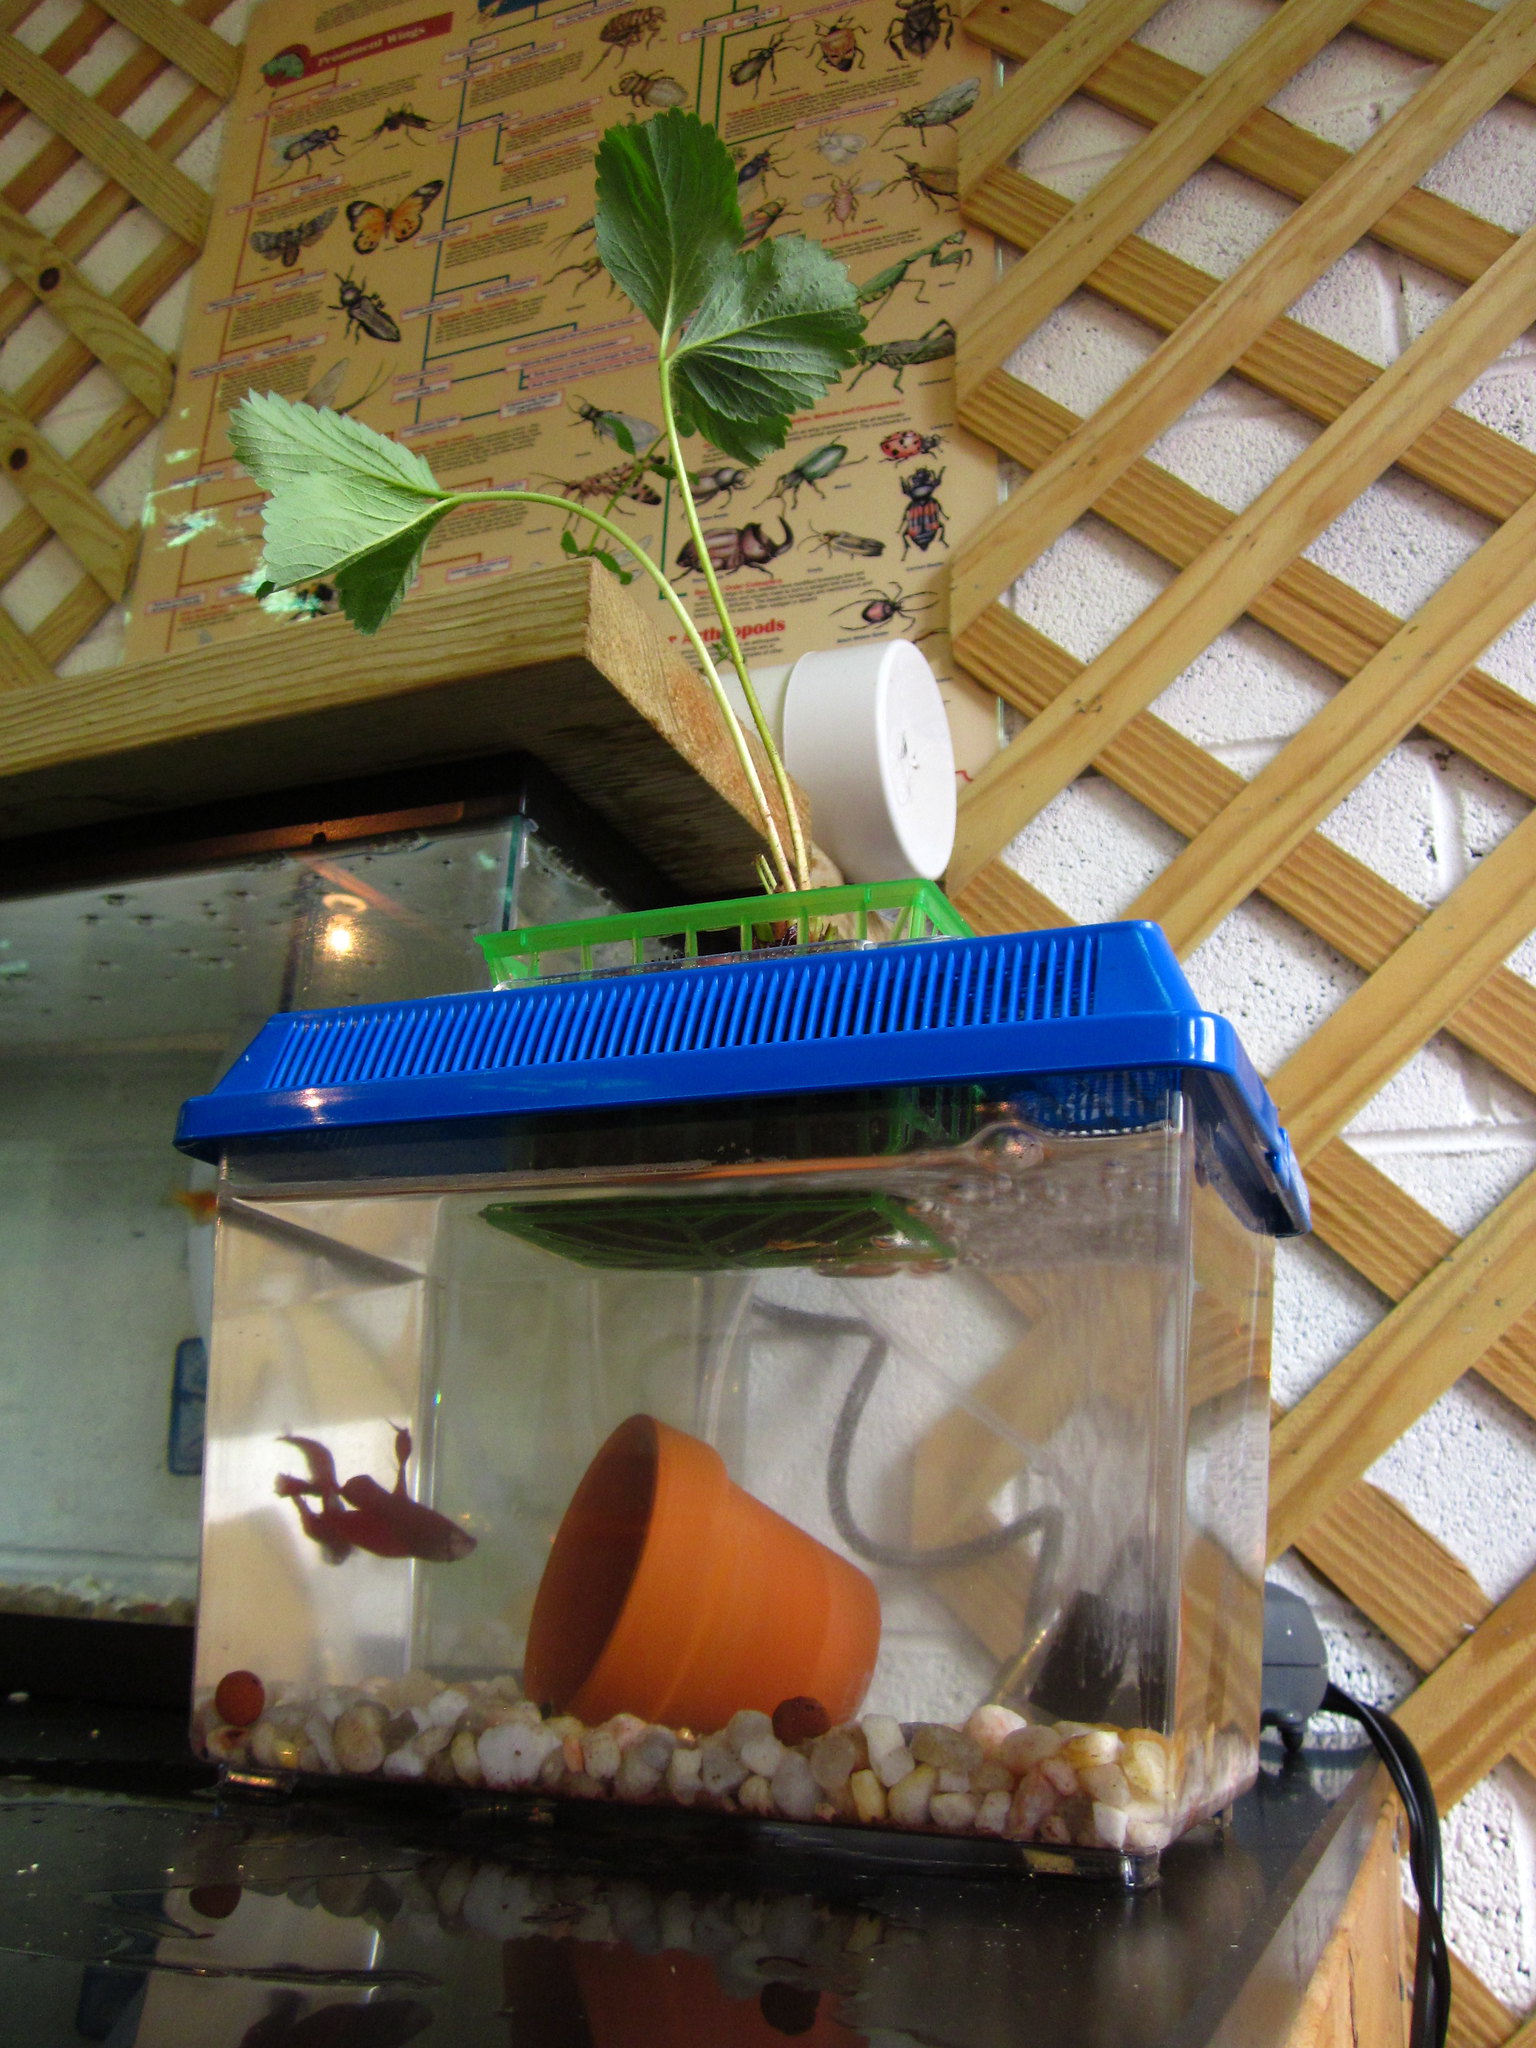
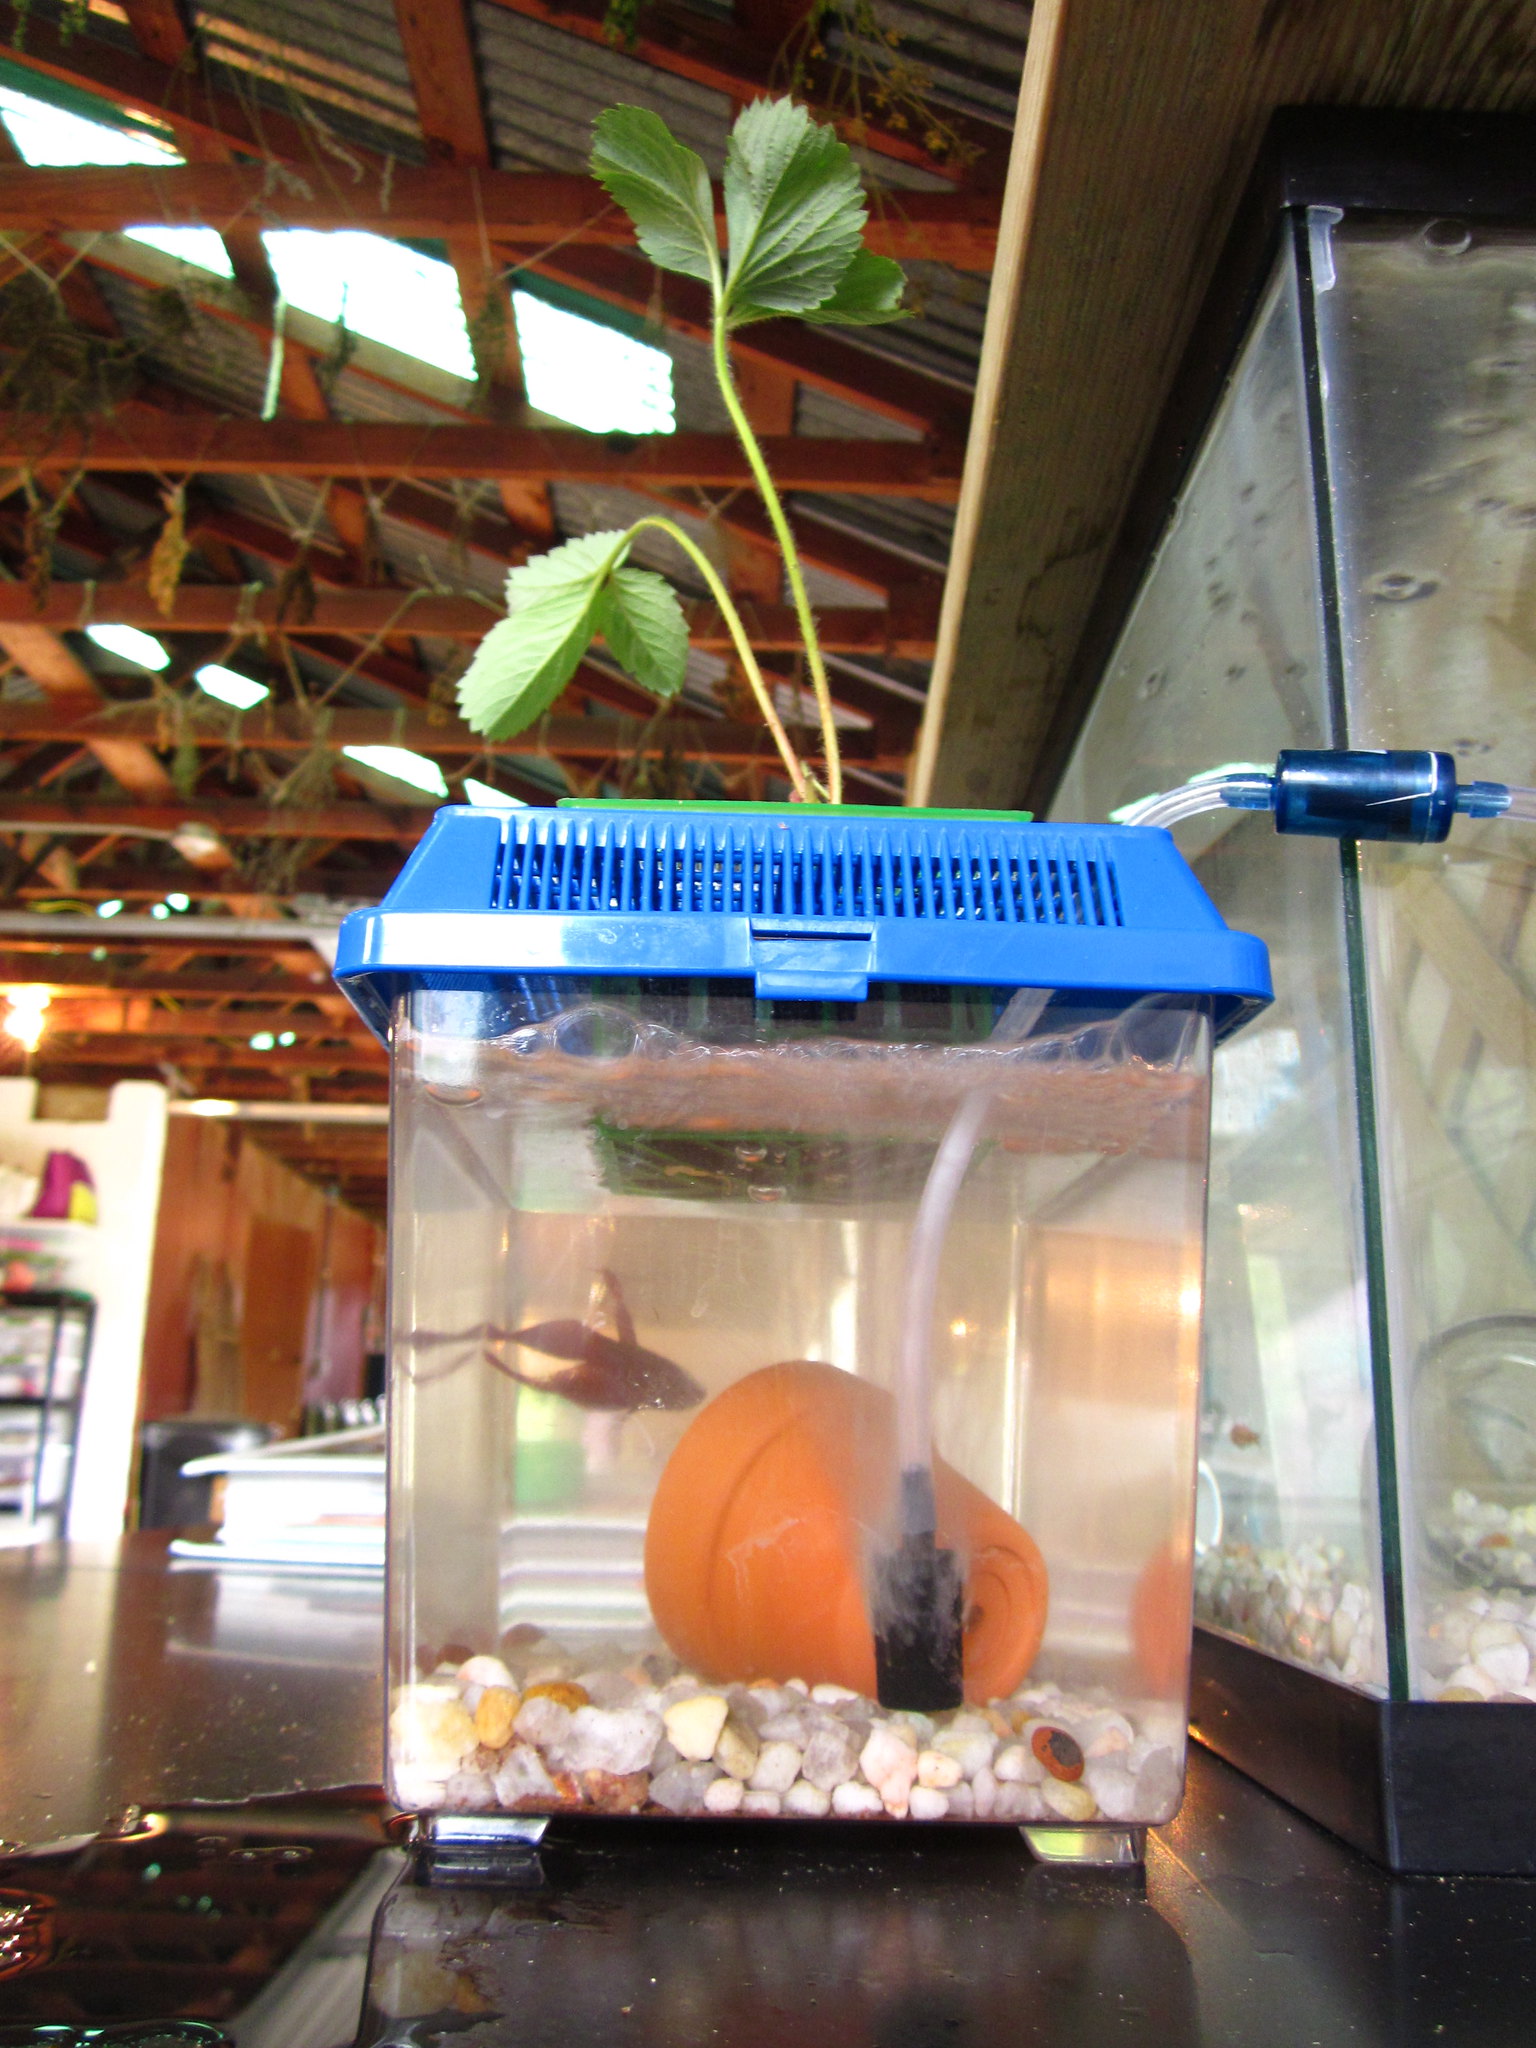
| This small and simple mini aquaponic system is the perfect size for classrooms, offices, or a sunny windowsill at home. |
A smaller aquaponic system works well near a sunny classroom window. Students can use the system for experiments, and they can learn a lot about concepts like botany, symbiosis, the water cycle, the nitrogen cycle, and technology. Aside from using the system to meet state and common core standards in lessons, the presence of plants indoors has been shown to increase productivity and reduce stress. Having live plants in the classroom would benefit the students and the teachers.
Not a teacher? Not a problem. An aquaponic system is like a living piece of art. It can beautify your workplace or residence, and stimulate conversation with coworkers and visitors.
What is an aquaponic system?
Plants are grown hydroponically without soil. Instead of adding fertilizer for the plants, fish live in the water reservoir for the plants. Through the power of the nitrogen cycle, when fish release waste into the water, they supply nutrients for the plants. In return, the plants keep the water clean for the fish.
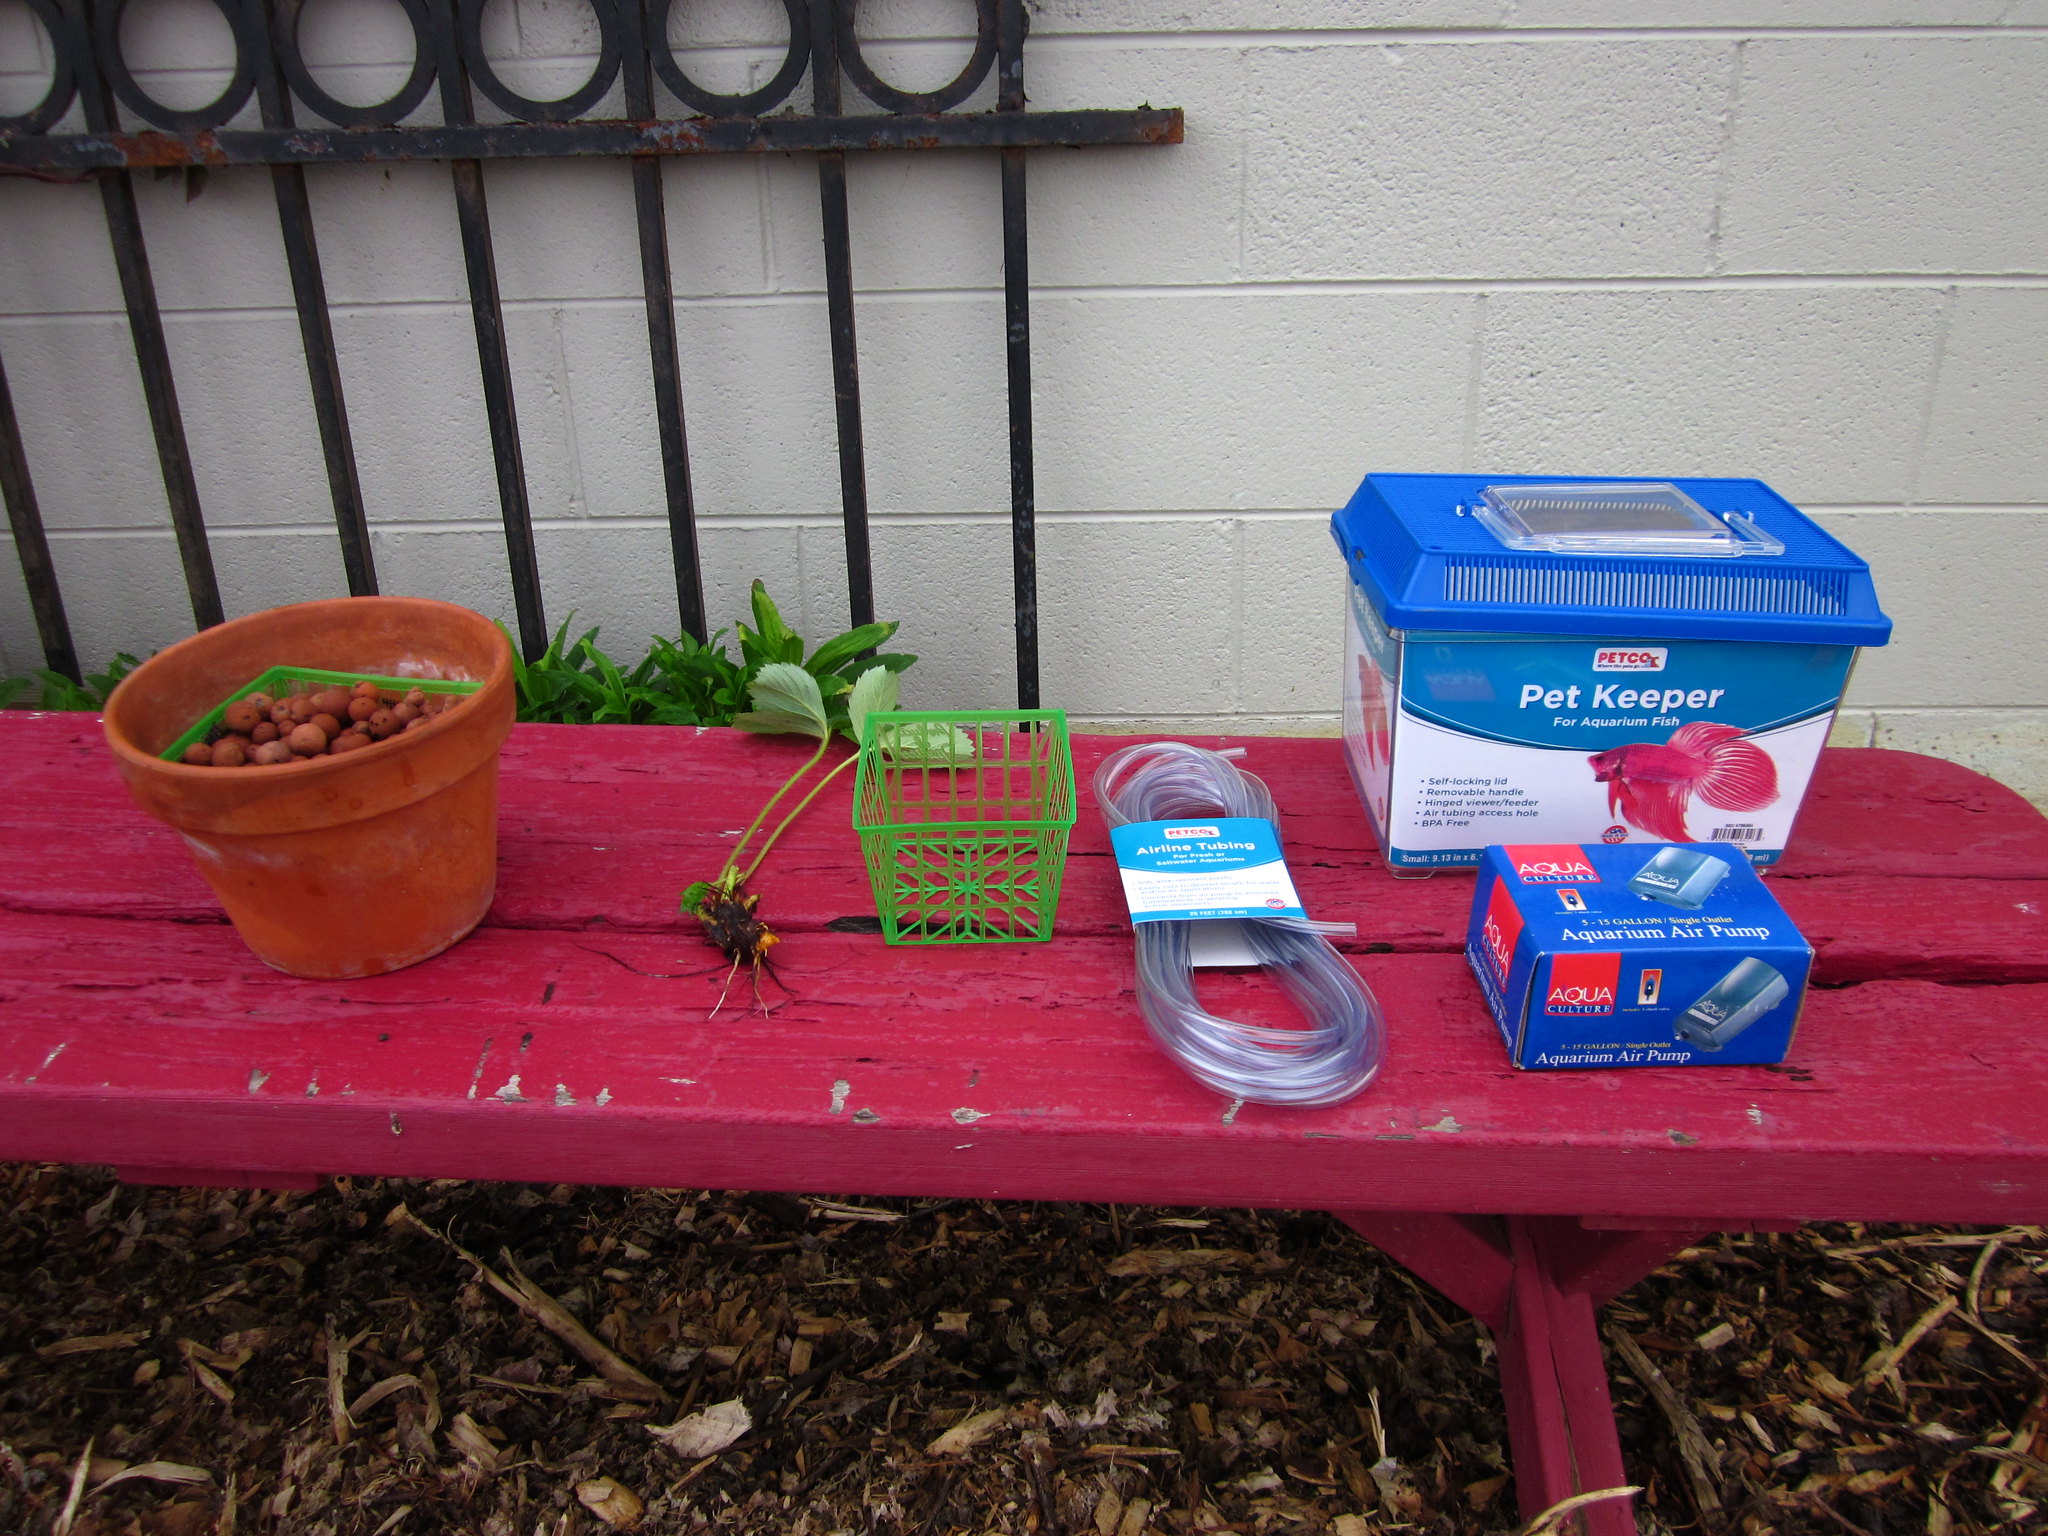
To build this mini aquaponic system, you'll need:
Depending on the scale of your new mini-aquaponic system, your components should come to somewhere between $15 and $30.
- "Critter Tote" aquarium, $4.99 to $15.99 from your local pet store or box store
Your system can be modified as long as you include fish,
plants, water, air, and even some worms - An air pump to inject oxygen into the water
- 5-15 gal air pump (and check valve), $6.77
- 1 mini air stone, $0.99
- Connective tubing, $1.72
- Aquarium gravel - $3.74
- Plastic "strawberry basket" or a foam egg carton
- Scissors
- Plants -- grown free from rooted cuttings or division
- One betta fish
- One clay pot, jar, or other small container
- Optional: 5-15 red wiggler worms
Putting it all together
Day 1
Start by rinsing out the aquarium, gravel, and small container with clean water. Put a layer of gravel on
bottom of the aquarium, and add water. Place the small container on the gravel in the aquarium. This will provide a place for your betta fish to rest without getting pulled into the current of the air pump.
 |
| Oxygen is important for a successful aquaponic system. Add a pot or jar to protect your betta fish from the current. |
In the corner of the aquarium lid, there will be a little circle in the grating. Use a nail to open that hole. Put together your air pump, stone, check valve and connective tubing as per the manufacturer's instructions. Run the connective tubing through the new hole in the aquarium lid. This will hold your air stone in place. Turn on the air pump. You should see bubbles come out of the air stone.
Allow the water to cycle for 24 hours before adding the fish. This should allow the chlorine in the tap water to evaporate. If you are using water from a rain barrel, you don't need to wait before moving to the next step.
Day 2
Add the betta fish to the aquarium. If you have worms, you can add them to the aquarium at this time. They will tunnel in the gravel and consume the solid fish waste. Don't be alarmed if your fish eats one or two worms while you're adding them to the aquarium.
Remove the plastic cover from the aquarium lid. If you are using a strawberry basket, put it through the opening in the lid to make sure that it fits snugly. If you are using a foam egg carton, use scissors to cut the carton to fit snugly in the opening. Use scissors to punch small holes in the bottom of each section of the egg carton. The basket or carton should touch the water of the aquarium, but should not fall in through the opening.
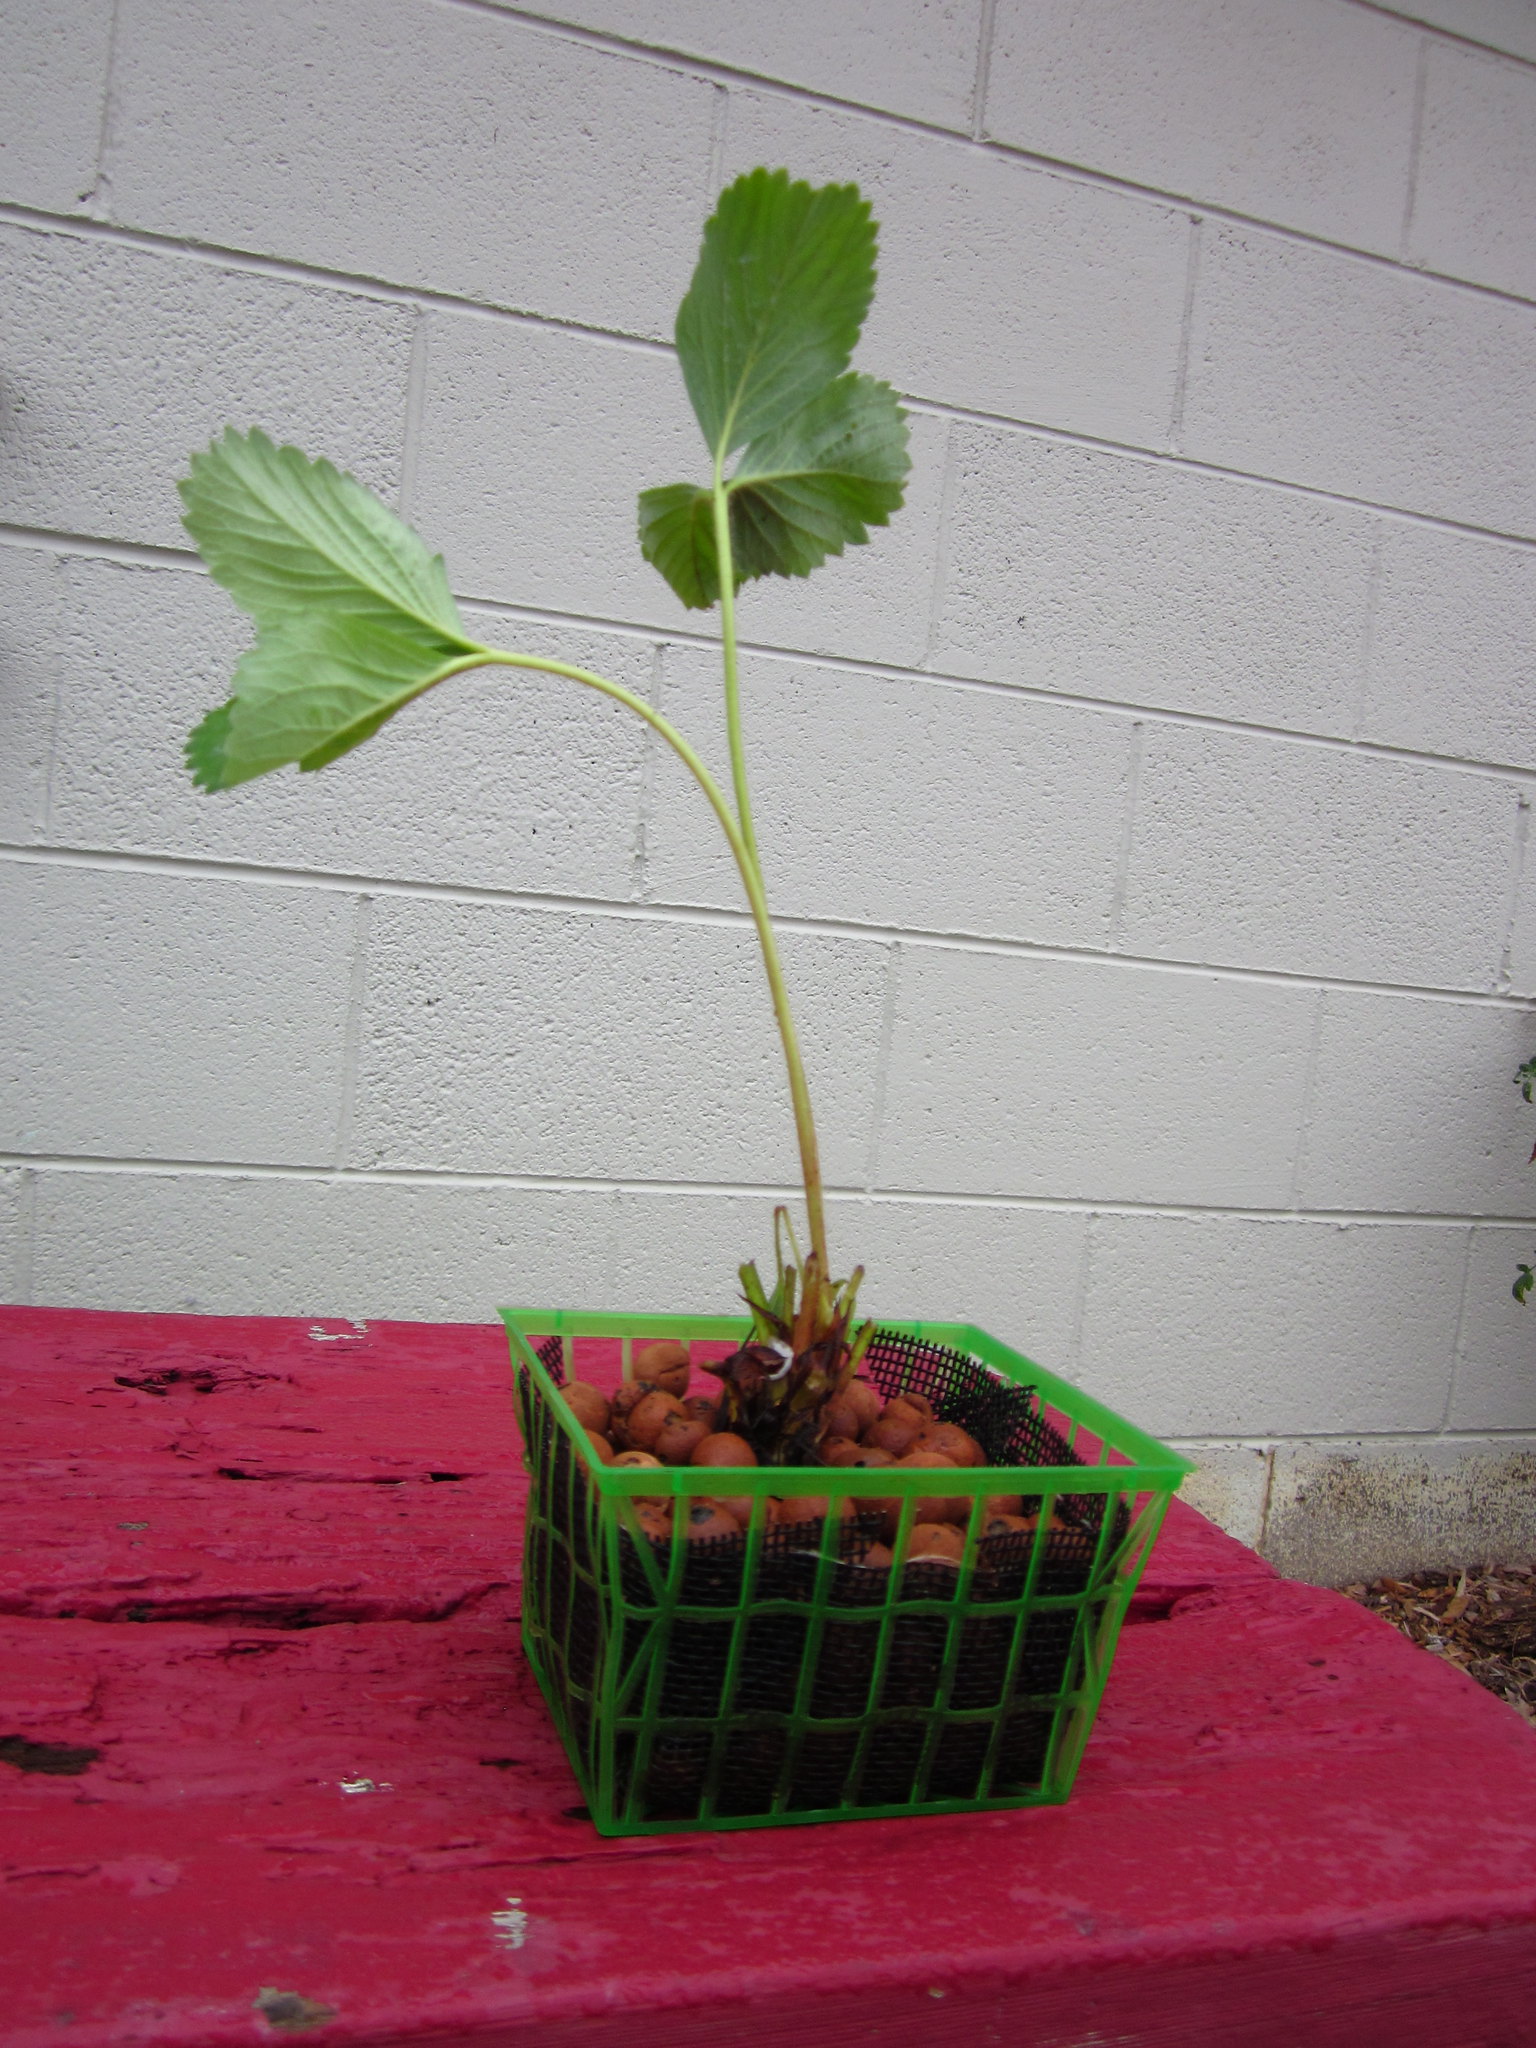
Place your planter snugly in the lid. Check to make sure the bottom of the planter or the plant roots are touching the water.
Ongoing Maintenance
To feed the fish, you can pull up the side of the lid that does not have the air pump, or you can remove the planter and add food through the opening. Add water to the aquarium as needed. Replace dead plants as necessary (it may take a few tries to get a plant to thrive).
In conclusion...
Again, if aquaponics are anything, they are versatile. If this system doesn't work exactly right for you, make modifications.
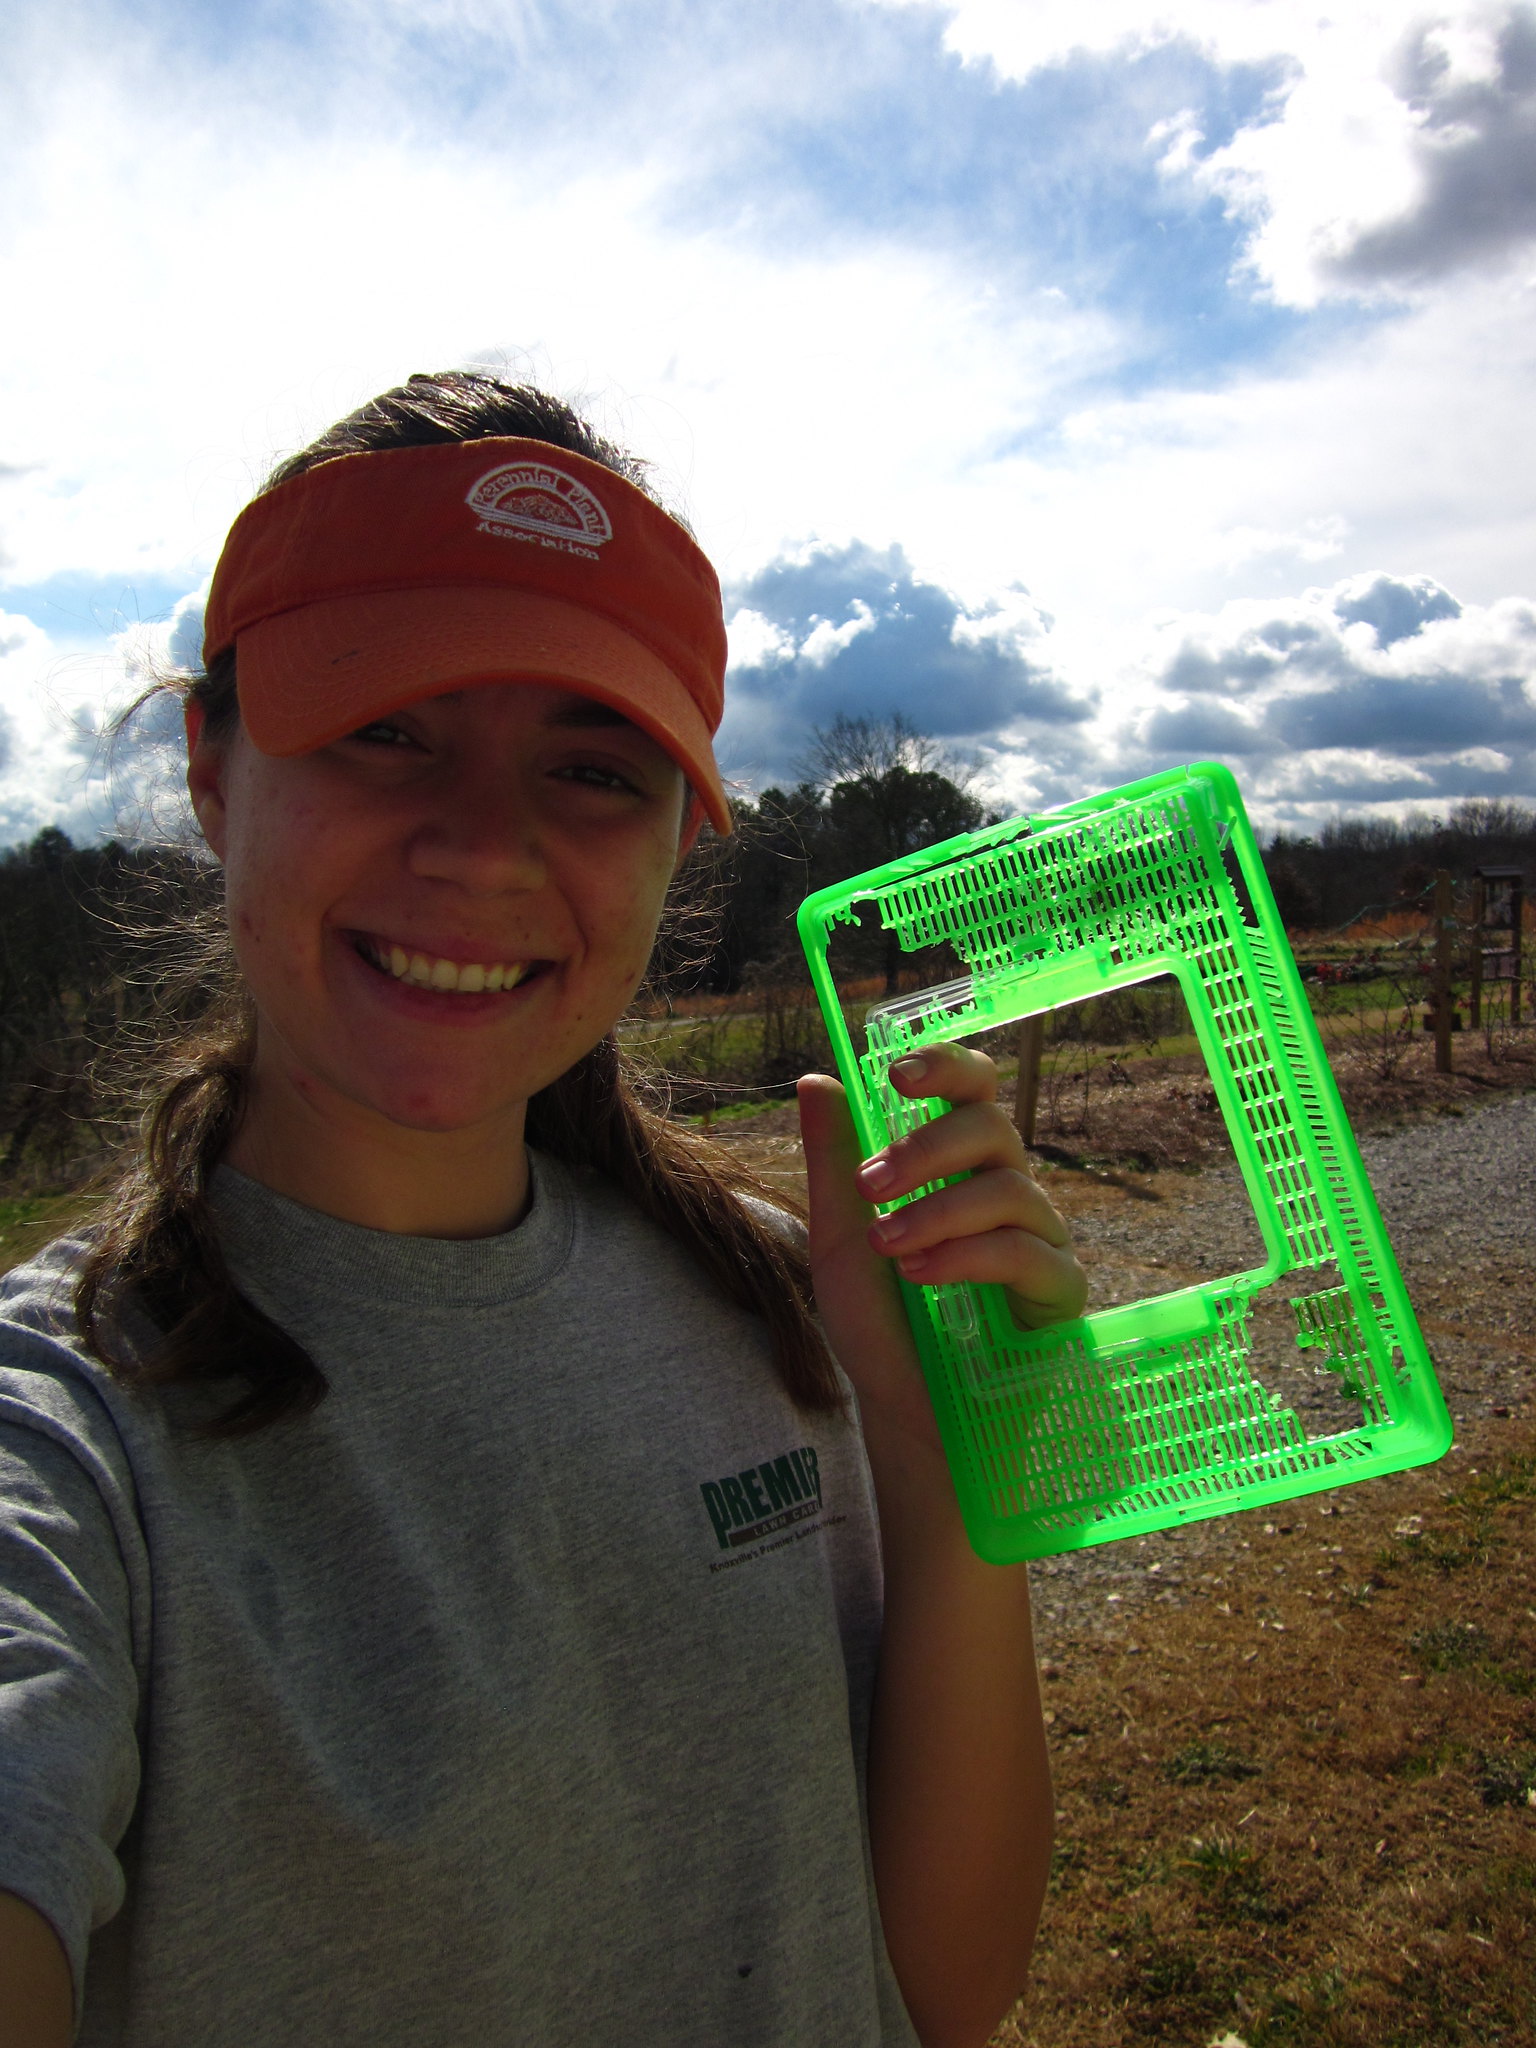 |
| Trial and error are an important part of creativity. I went through a bit of failure before finding a system that worked. |
The idea for this mini aquaponics system spitballed after I built my Bare-Bones Aquaponic System late last year. We built the bare bones system at the Hazlewood ECO Center at Paris Landing State Park and the "Every Child Outdoors" Youth Vegetable Garden at the Knoxville Botanical Garden and Arboretum. My boss and I came up with the idea to take that, make it smaller, less expensive, and easier to build. Before Wendy's strawberry basket revelation, I absolutely destroyed an aquarium lid by trying to drill holes in it with a hole saw. Then I got this idea to build a plywood piece that would fit on the hole in the aquarium lid. That worked, but it was too much work. In this case, simpler is better -- much, much better.
So feel free to get creative with this project. Then, please check in and share what you've done.
To see more photos of building a raised bed garden, check out my flikr set.
If you have any questions, comments, ideas or suggestions, please leave a comment or shoot me an email.
What is your experience (victories or pitfalls) with aquaponics? What would you try growing if you had this mini aquaponic system?

Brilliant idea! I just attempted and made a similar tank with a 2.1 gallon critter carrier containing 1 betta and 2 ghost shrimp.
ReplyDeleteWhat are the red round things in the planter. What sort of mesh is that?
ReplyDeleteGood idea ,thanks for your sharing.Decorative flower pots
ReplyDeleteThat tank is way too small for any fish, also needs heating and filtration this is a very bad set up for the fish. If you’re gonna do this, you can do it with a minimum of 5 gallons and aquatic as well as surface plants
ReplyDeleteSuunto Compass
ReplyDeletebest waterproof matches
Bear Grylls Survival Knife
Zebra Stainless Steel Stock Pot
Best Desantis Holster Review
Best Ankle Holster
Pocket First Aid Kit
Going On A Deer Hunt
Bighorn Gun Safe Review
Price in Bangladesh